Video Creation

Record The Piano Performance

The recording process is devided into two different parts. On the one hand you have to record yourself when you play the piano so that your hands and the LEDs from the visualizer can be seen. On the other hand you must record your play digitally by saving the pressed notes into a Midi file so that you can visiualize the Midi later on.

You can easily record your performance via a midi file by using the raspberry pi. There is a built in function to record your play. When you're done you can press "safe midi" on the visualizer's display and a respective midi files is stored on the raspberry pi. You can access this file by connecting to your pi remotely with a software like WinSCP. When you're connected remotely you can copy the midi file via drag and drop to your desktop computer.

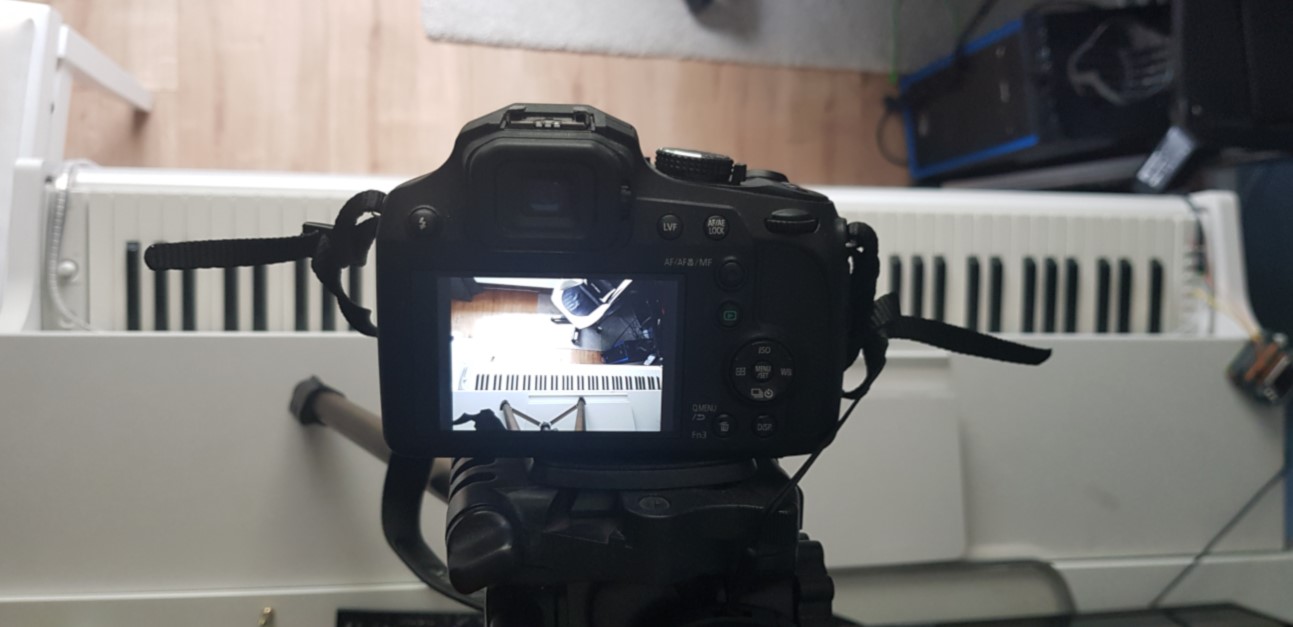
For the physically recording we use a Lumix DC FZ82 that can be seen in the right picture. We are using a tripod to film the keyboard from the top so that every key is captured while recording. It is important to provide enough darkness in the room while recording in order to capture the lights from the visualizer properly. If there is too much light in the room you will most likely end up seeing not that much from your LEDs.
Edit The Sound

In order to get a nice sound you have several options to achive this. Some YouTubers just record their piano sound seperatly with some sort of microphone. We use a seperat soundfont that can be applied on the midi file. There are also incredibly soundfonts out there but they're very expensive, quality has its price...
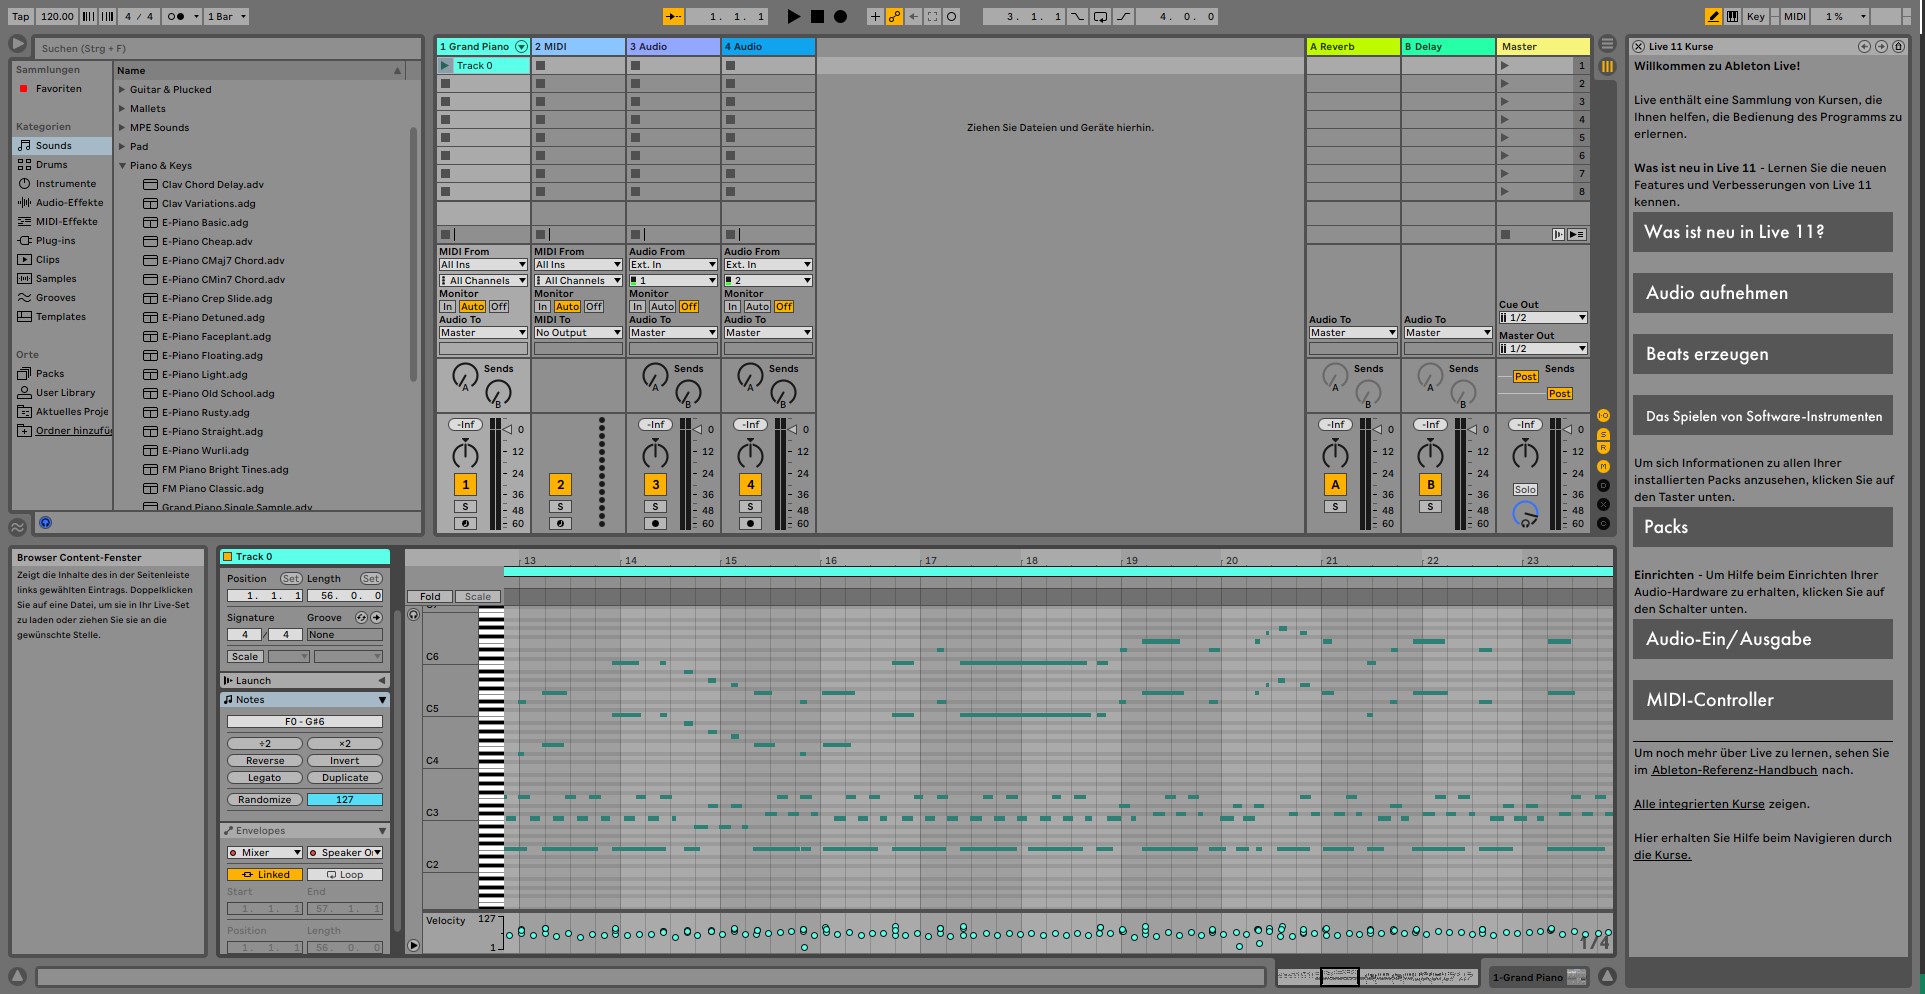
For the sound editing process we use a software called Ableton-Live-Lite which is not completely free.

Here you can change the sound of your piano font and can also amplify certain parts, adding some reverb and many other things. You can even delete some midi notes in case you did a small misplay while recording. After that you can export the audio file to your computer. You can export your midi files as well after you corrected some misplays.

Visualize The Midi

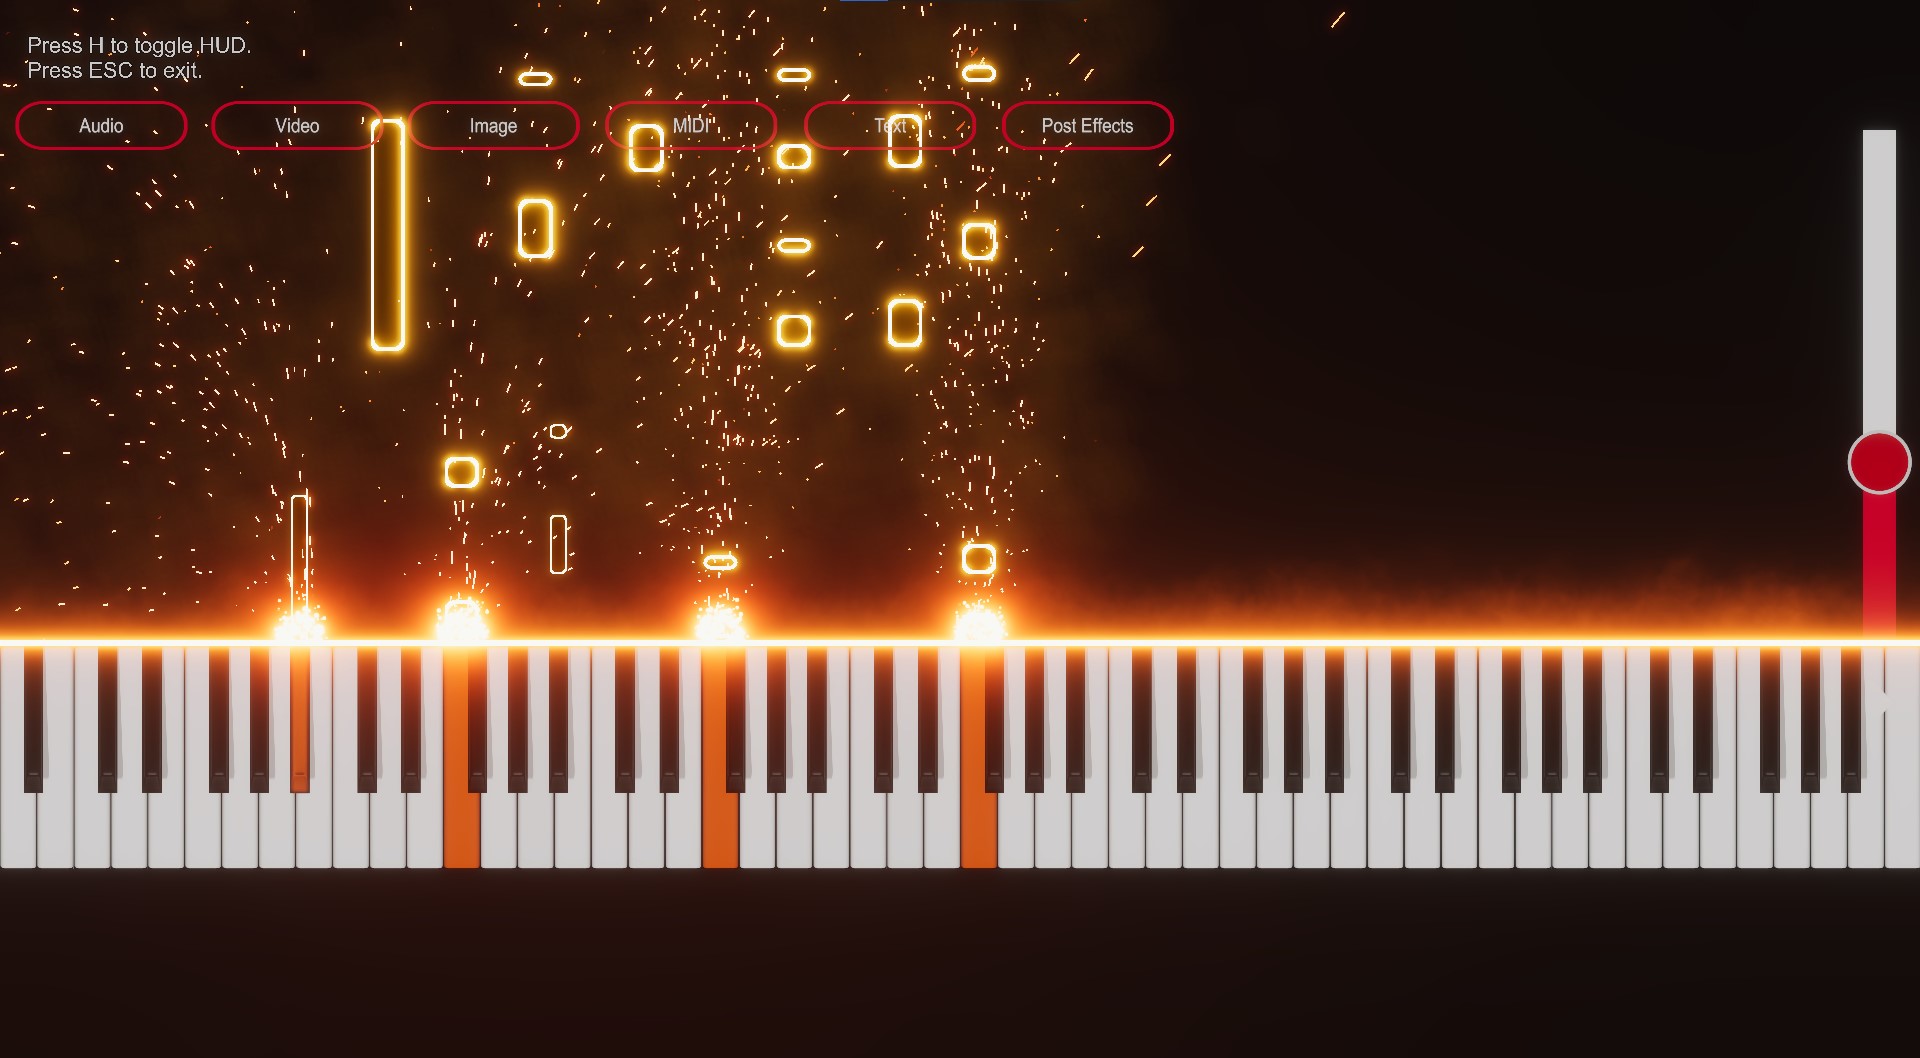
To create the desired midi visuals you can use many different tools. For our first videos we used SeeMusic but during the process we switched to Piano VFX which is an incredible and completely free to use software. In Piano VFX you can add your saved midi, change the effects and colors to your desire and even create your own effects. You can even add your video clip that you recorded with your camera and can crop certain parts that souldn't appear in the final video. You can also add the audio from the previous step. After you synchronized your video with the midi and the additional audio file you can render the video.

Actually, we don't do the whole synchronizing process with audio, video and midi with Piano VFX even if it's possible. We start this process in the following step.

Edit The Video

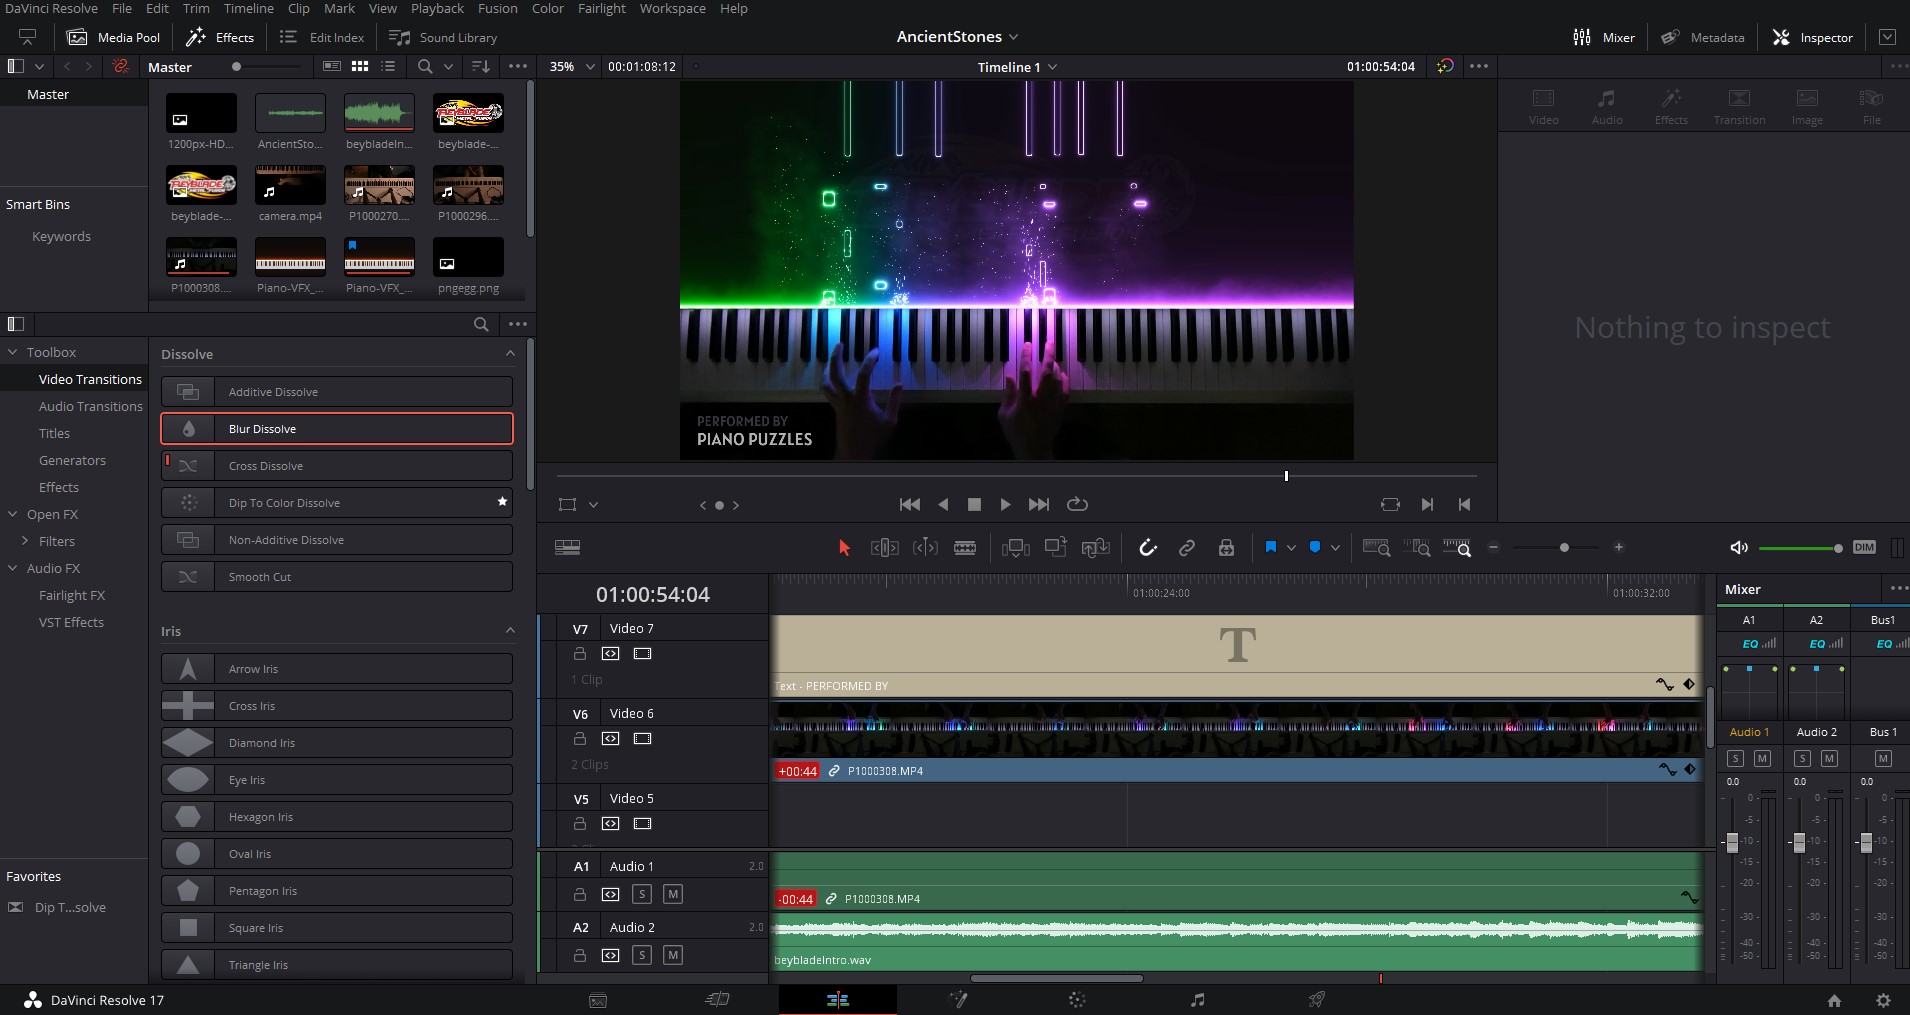
The final step is to combine the visualized midi with you recordrd video and the piano sound. In order to achive this we use the video editing software Davinci Resolve. During this process we add all the needed files into the timeline and synchronize everything. During this step we also add our watermark in the lower left corner of the video and also insert our own designed intro at the beginning of the video. Here we also add some low opacity icon in the background that fits the context of the video as well as some transition effects during the beginning and the end of the video.

Additionally we add some color gradient over the visualized midi to match the color gradient that is captured in the video file where our keysboard and the LEDs can be seen. When everything meets our expactations we render the video as a whole and upload it on YouTube.